Winter is coming, and it's time to start thinking about how to protect your home from the harsh elements. One area that often gets overlooked is the garage door. If not properly winterized, a garage door can let in drafts, rain, and snow, which can cause damage to your car and belongings stored inside. One of the most important steps in winterizing your garage door is fixing the garage door bottom seal.
The bottom seal on your garage door is designed to create a barrier between the outside world and your home. Over time, however, this seal can become worn or damaged, allowing cold air and moisture to seep through. To prevent this from happening, it's essential to inspect your garage door bottom seal regularly and replace it as soon as you notice any signs of wear or tear.
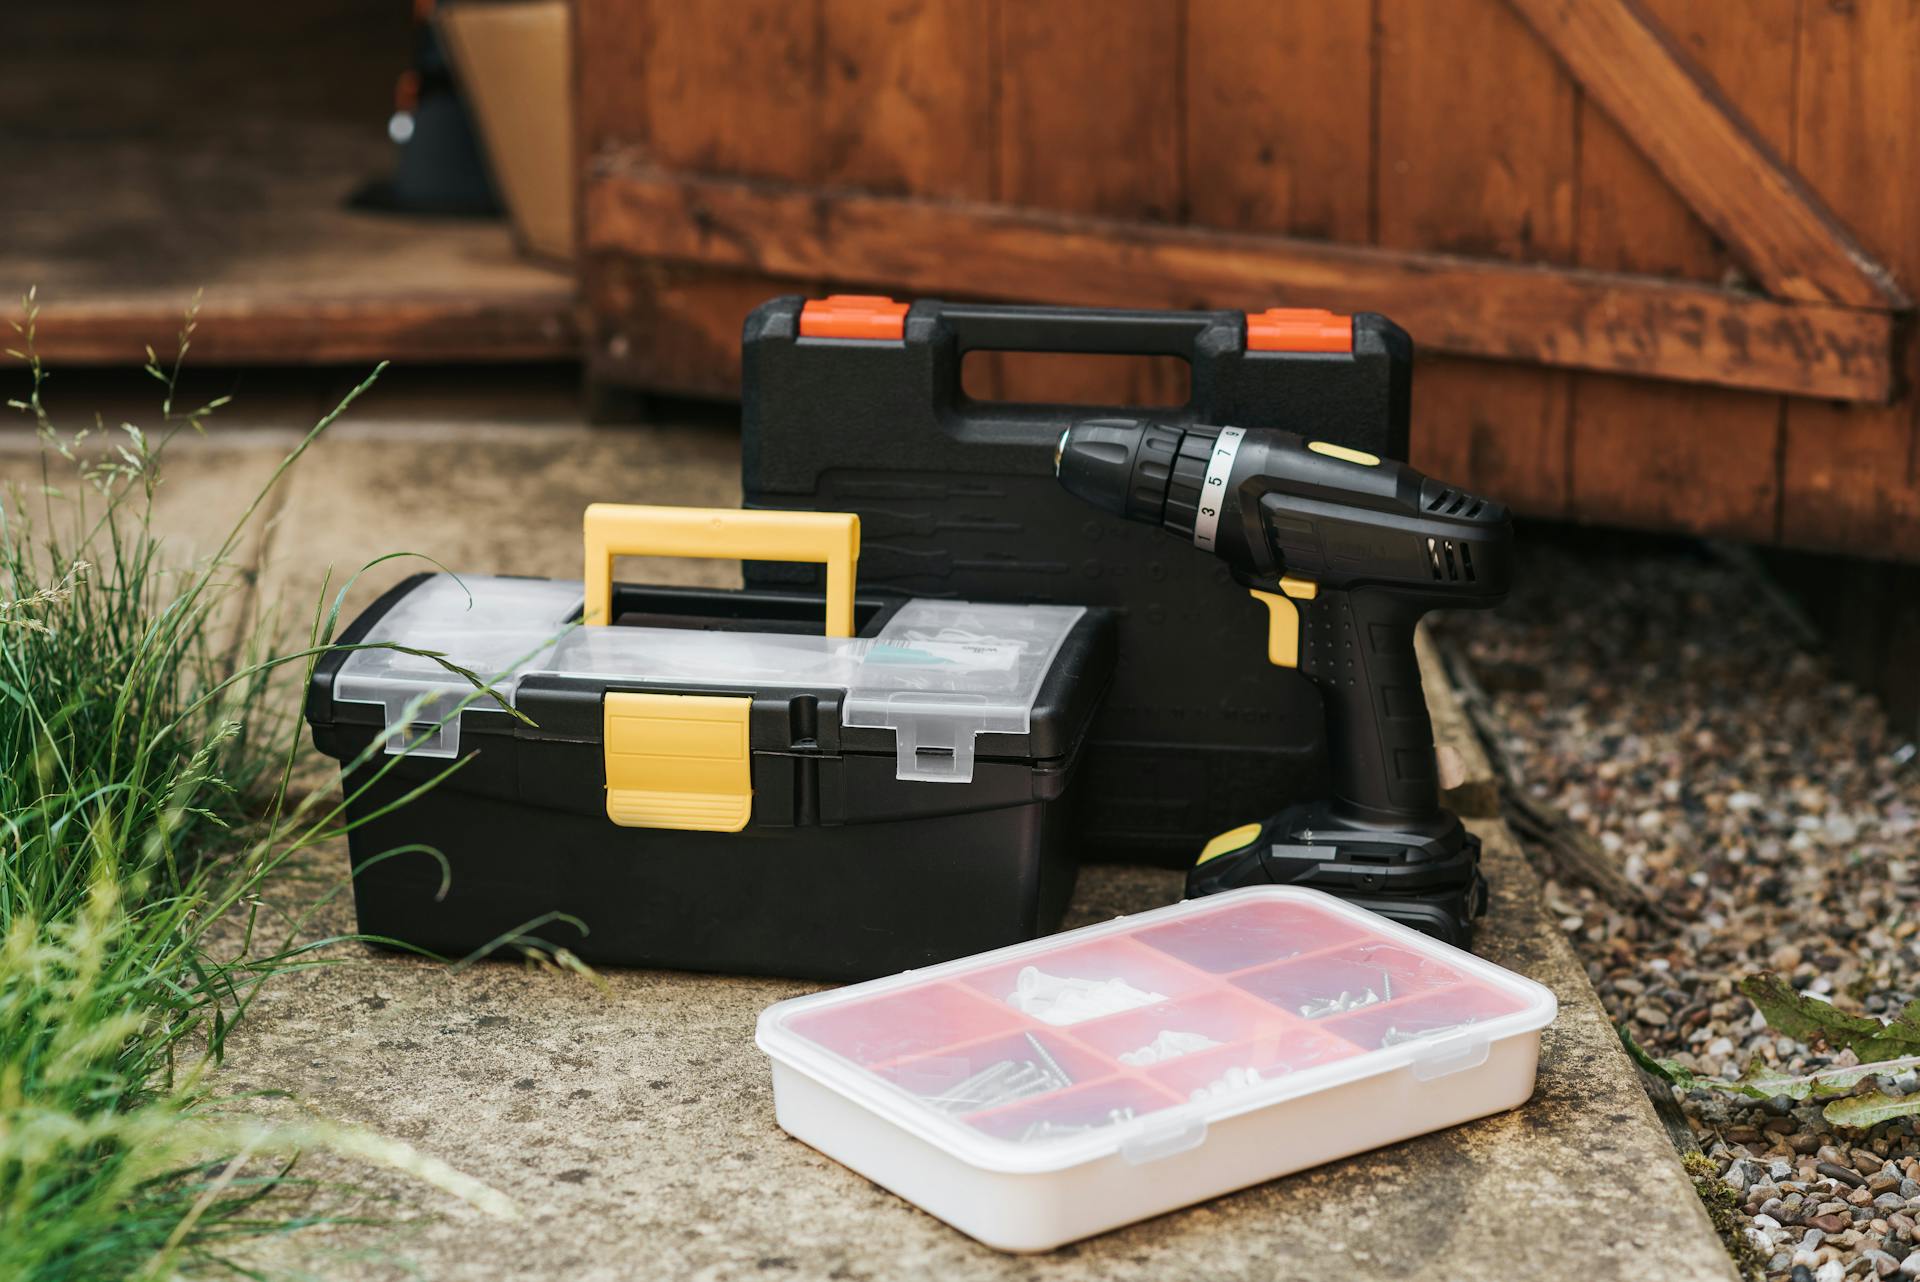
Fortunately, fixing a garage door bottom seal is a simple task that can be done by almost anyone. With just a few basic tools and some patience, you can ensure that your garage stays warm and dry all winter long. In this article, we'll walk you through the steps involved in replacing a garage door bottom seal and provide tips for keeping your entire garage door system running smoothly throughout the colder months.
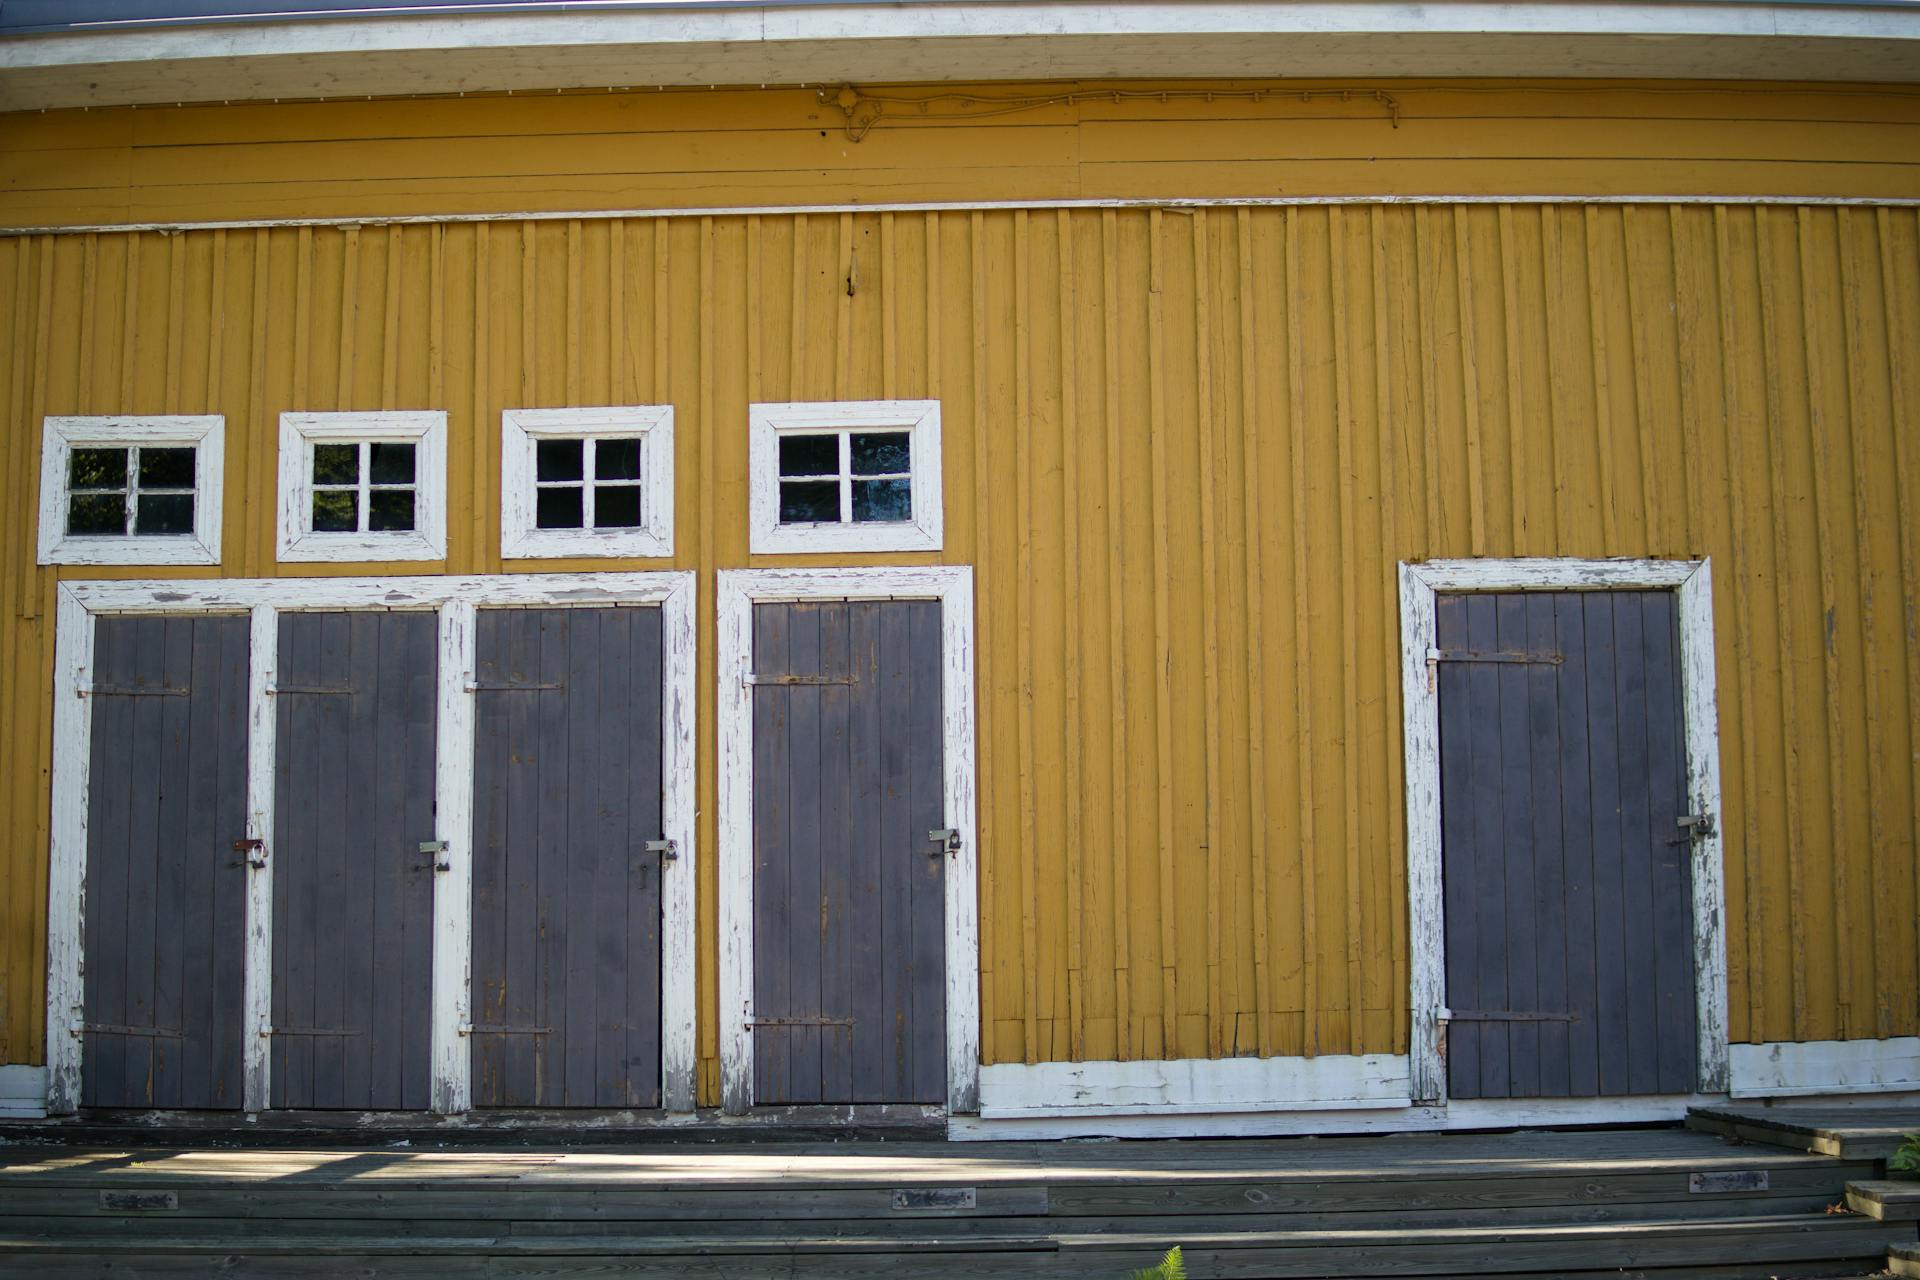
Discover more: Rustic Barn Door
Restore your garage door bottom seal by installing new weather seals, replacing rotted trim and renewing a rusty track.
Restore your garage door bottom seal with these simple steps. If you're tired of the cold air and unwanted pests sneaking into your garage, it may be time to replace your weather seals. DIY experts at Family Handyman Magazine suggest measuring the length of the garage door bottom and purchasing a replacement seal kit from your local hardware store. Once you have the kit, remove the old weatherstripping and secure the new one in place with provided screws or adhesive.
In addition to replacing weather seals, it's also important to inspect and replace any rotted trim. Over time, moisture can cause wood trim to deteriorate which can lead to further damage if left unchecked. Check for any signs of rotting or cracking in the trim surrounding your garage door and replace as necessary. Finally, renewing a rusty track can prevent your garage door from sticking or becoming misaligned during operation. Simply clean and lubricate the track with a silicone-based spray to keep things running smoothly.
Check this out: Framing a Garage
1. Photo 1: Remove the Old Garage Door Seal
Photo 1 shows the first step of fixing a garage door bottom seal. This involves removing the old seal from the door track. The garage door bottom seal is an essential component that prevents drafts, insects, and debris from entering your garage. Over time, it can become damaged or worn out, causing air leaks and energy loss.
To remove the old garage door seal, you need to open your garage door approximately 3-4 feet high to access the bottom section. Then, using a pair of pliers, grip the bottom part of the seal and pull it away from the door track. Be careful not to damage the track or any other parts during this process. Once you have removed all of the old seal, you can proceed with installing a new one to keep your garage free from unwanted elements.
2. Photo 2: Clean the Track
One of the key steps in fixing a garage door bottom seal is to clean the track. Over time, dirt and debris can build up in the garage door bottom seal track, preventing it from functioning properly. To fix this issue, you need to scrape dirt from the track using a stiff brush.
Start by removing any loose dirt or debris from the bottom of the garage door seal. Then use a stiff brush to scrape away any remaining dirt or debris from inside the track. This will help ensure that the garage door bottom seal can move freely and create a tight seal when closed. By taking these simple steps, you can ensure that your garage door is working properly and keeping your home safe and secure.
3. Photo 3: Install the New Seal
Now that you've removed the old seal, it's time to install a new one. Before starting, clean the bottom of your garage door with dish soap and water to remove any dirt and debris. This will ensure that the new seal adheres properly.
Next, carefully slide the new garage door bottom seal into place. Make sure it is straight and flush against the bottom of the door. If necessary, trim any excess material with scissors or a utility knife.
Overall, installing a new garage door bottom seal is an easy DIY project that can save you money in energy costs by keeping out drafts and pests.
Suggestion: Install a New Stair Handrail
4. Photo 4: Fasten a New Garage Door Bottom Seal To a Wood Garage Door
Photo 4 shows how to fasten a new garage door bottom seal to a wood garage door. First, remove the old seal and clean any debris from the surface. Then, apply wet caulk along the bottom of the door and place the new seal on top. Use a door bottom clamp to hold the seal in place while you attach it with one-inch screws.
Properly installing a new garage door bottom seal is important for keeping out drafts, water, and pests. With these simple steps and tools like wet caulk, door bottom clamps, and one-inch screws, you can easily replace your old seal and improve the energy efficiency of your home.
5. Photo 5: Apply Garage Weather Stripping Between Door Sections
Photo 5 shows the process of applying garage weather stripping between door sections. To start, you'll need to remove the door sections from the garage. Once you've done that, it's time to apply the garage weather stripping. This type of weather stripping usually comes with an adhesive backing, which makes it easy to install.
The purpose of garage weather stripping is to keep out unwanted elements such as rain, wind and snow. It also helps to keep your home insulated and energy-efficient. When installing garage weather stripping, make sure that it is applied evenly and securely between each door section. With the proper installation, you'll be able to enjoy a more comfortable and protected garage space!
6. Photo 6: Glue Down a New Threshold
To fix your garage door bottom seal, you need to glue down a new threshold. This is where the threshold adhesive comes in handy. First, clean the area where you will be applying the adhesive using a damp cloth. After that, measure and mark where the threshold will go using a chalk line or any other marker made earlier close to the location of your garage door bottom seal. Then apply the adhesive according to label directions and place the threshold on top of it. Hold it in place until the adhesive sets, and use weight hold to ensure that it stays in place.
By following these simple steps, you can easily replace your old threshold with a new one without having to call for professional help. It's important to read and follow the label directions when using any type of adhesive to ensure that it works effectively. With just a few tools and some patience, you can fix your garage door bottom seal in no time!
7. Photo 7: Nail on Self-Sealing Door Stop
Photo 7 shows a nail-on self-sealing door stop that can be used to fix the bottom seal of your garage door. The built-in sealing lip provides extra sealing power, making it an effective solution for garage doors that let conditioned air escape during summer and cooled air escape during winter. This simple and affordable fix can save you from having to do a garage door bottom panel replacement job.
To use this door stop, first, remove the old seal by pulling it out of the metal track. If you have a wooden garage door, rip off the nailed rubber seal and scrape off any remaining debris. Apply wood sealer on the exposed edges and let it dry before installing the new seal. Next, insert the nail-on door stop into the aluminum track at a 45-degree angle and hammer it in place with a flat screwdriver. Use a razor knife to thread the rubber seal into the T-shaped edges of the weather seal track, then apply exterior caulk or silicone-type seal along both ends of the track to keep it in place. Finally, apply household cleaner or dishwashing detergent on both sides of your garage door and pressure-sensitive v-strip weather stripping (photo 5) before gently closing it to mark where you need to cut excess material with a razor knife or scissors. Repeat this process for each section until you reach the threshold (photo 6), where you can install another nail-on door stop with sealing lip (photo 7).
Frequently Asked Questions
How do you insulate a garage door?
You can insulate a garage door by adding insulation panels or strips to the interior of the door, or by using a garage door insulation kit that attaches to the door. Both options will help to keep your garage warmer in the winter and cooler in the summer.
How do you replace the seal on a garage door?
To replace the seal on a garage door, remove the old seal and clean the area thoroughly. Measure the length needed for the new seal and install it using screws or adhesive.
Should your garage door match your front door?
It is not necessary for your garage door to match your front door, but having complementary colors or styles can enhance the overall curb appeal of your home. Ultimately, it depends on personal preference and what works best for your home's aesthetic.
How do you keep the cold out of a garage door?
Install weatherstripping around the edges of the garage door and add insulation to the interior of the door to keep the cold air out. Consider adding a garage heater for extra warmth.
What are the different types of garage door seals?
The different types of garage door seals include bottom seals, weatherstripping seals, threshold seals, and brush seals. These seals are designed to prevent drafts, water, and debris from entering your garage while also helping to insulate it.
Featured Images: pexels.com